A-Wing WIP 1: Flares, Boots, Gloves, & Bits
Leave a commentJanuary 6, 2014 by catomighty
Parts and materials acquisition for the Pilot’s uniform began last month, along with the first actual work of making the mini-flares for the belt. Then began work on the belt. And…. quickly realised I needed to do a bunch of video research before proceeding further, so paused actual construction while gathering all the images posted over in the Screencaps entry.
Material acquisitions to date:
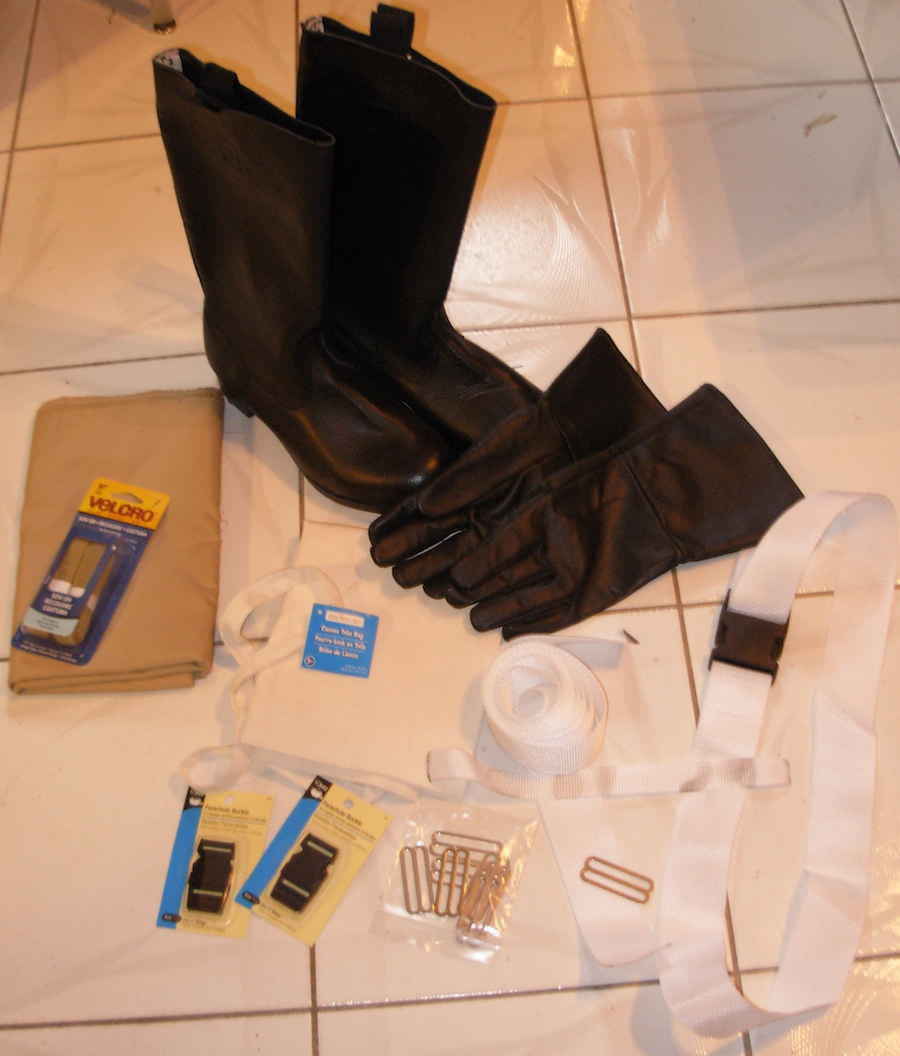
Jackboots from EastMeetsWestMilitaria.com.
Gloves from MysticLeather.com.
Bottomweight twill for the gaiters, canvas totebag from the dollar store for the flak vest bib, assorted hardware, and 2″ white nylon webbing for the belt and ejection harness.
The 1″ wide webbing is for the loops to hold the flares on the belt. I’ve done a little pre-weathering test on this. When working with nylon webbing, I like to heat-seal the ends by passing it quickly through a candle flame (while wearing a respirator). Done lightly and quickly, this does not soot up the nylon. But Star Wars kit should look properly weathered! So I passed this bit of webbing through the candle to pick up some light sooting. I’m happy with this test, and when I’ve finished adding the flare loops onto the belt, I’ll give the whole thing a bit of this weathering treatment, and the leg harness too.
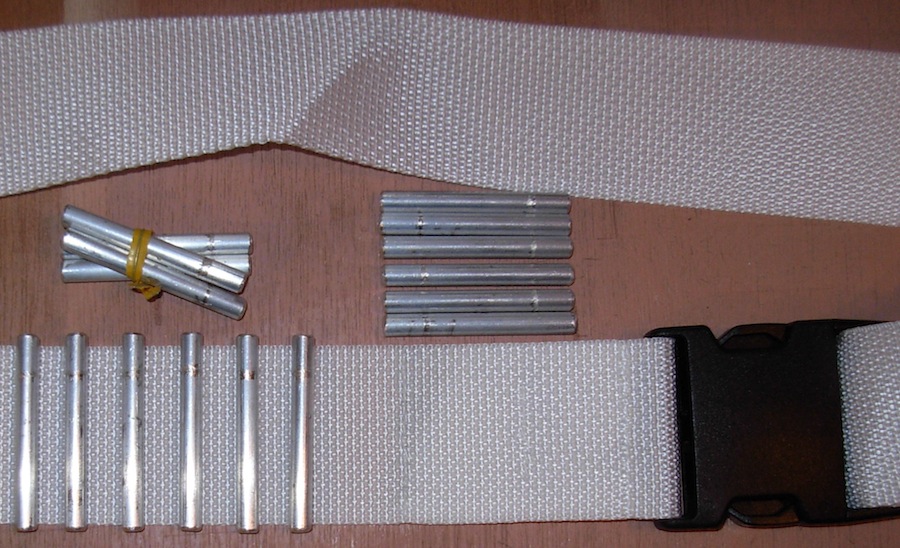
The mini-flares themselves were pretty easy to make with minimal shop tools: table vice, skill saw, small bench grinder, and file. Began with a length of 1/4″ aluminum rod from the hardware store.
* Started by bevelling one end of the rod on the grinder. It’s a tiny bit easier to bevel the longer rod than the cut pieces.
* Then measured the length of the flare, wrapped the rod in some paper towels to keep the vice from nicking it, clamped it in the vice, and cut with the skill saw.
* Bevelled the end of the cut flare and the new end of the rod.
* Repeat until no aluminum rod left! I found it better to measure off only 1 flare at a time. That way they are all measured from the same starting point of the actual end of the rod and consequently less variable of lost material from the cutting and grinding.
* When done, filed the bevels all smooth. Sorted into piles of flares that are the same length. Just working by hand, there were slight differences, so just made sure that all the ones that go into one belt are the same.
* It’s also easy to trim the length down on pieces that are a smidge long using the grinder and/or file. There were a few that were longer, but I just tapped the ends of those square onto the grinder and shortened them to match the others. I also wound up with one group of 4 that were a bit smaller than the others that I can give to someone else.
Honestly, I enjoy working with metal or plastic more than I do with needle and thread. So starting with the flares was like eating the frosting first! But having them will also make it easier to figure out the spacing when I get the loops sewn onto the belt.
And I still get to look forward to the plastic work for this build — scratchbuilding the chestbox and assembling a vacuform helmet kit. 1:1 scale modelling, wahoo! =^,^=
